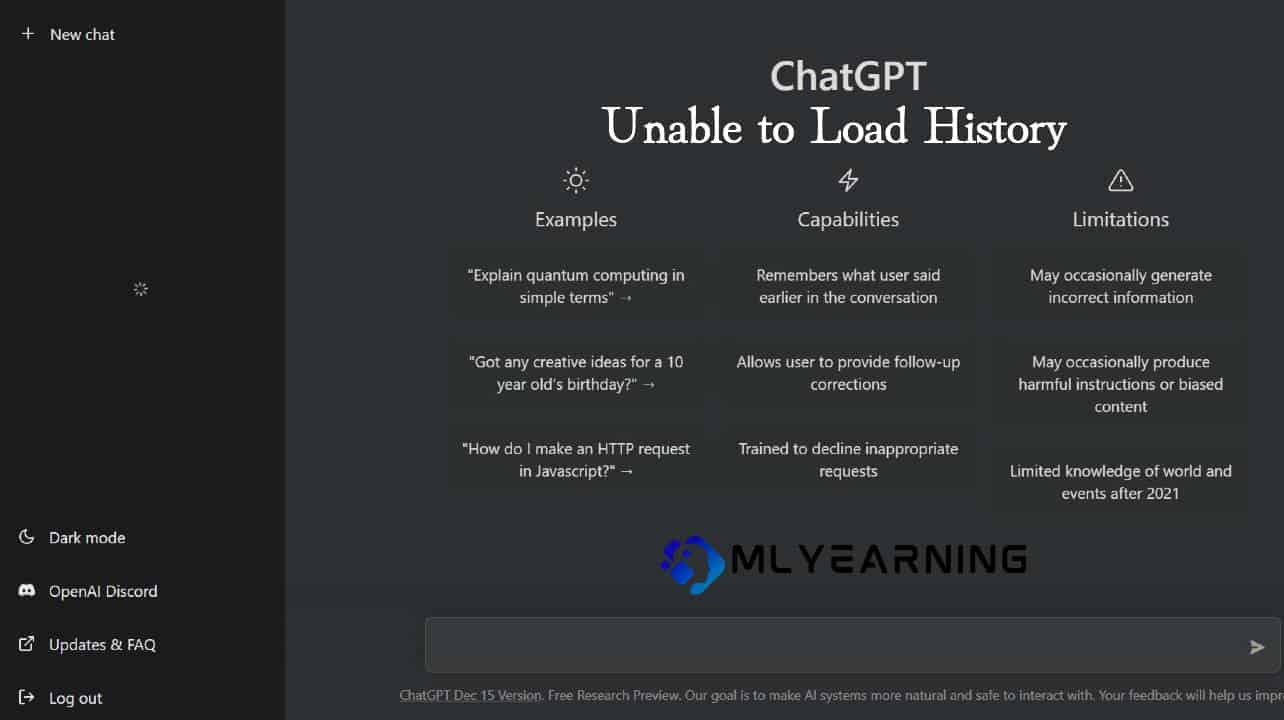
Imagine you grabbed your laptop, went to ChatGPT, and immediately after logging into your account, the website displays an error message: Unable to load History or Unavailable Error.
That’s irritating, right?
ChatGPT is amongst the most popular AI tools. The platform entertains millions of visitors. So spotting errors shouldn’t surprise you. But you shouldn’t sit idle after receiving them.
This guide discusses the reason behind the “Unable to Load History” error and how to solve it. Scroll below to learn more!

Why is ChatGPT Unable to Load History?
ChatGPT users could not access their history initially. Recently, ChatGPT added this new feature enabling its users to view their history. The feature works most of the time perfectly, yet some users have reported that ChatGPT shows the “Unable to Load History” while accessing the platform.
This issue often occurs when there is a network issue, or the site is undergoing maintenance. Sometimes, ChatGPT displays this error when the server is down or has huge traffic.
How to Fix ChatGPT Unable to Load History?
Watching ChatGPT display an error message when you want to access your history is annoying.
Luckily, this error is temporary, and you can fix it using different approaches. We’ve figured out a few strategies to solve the Unable to Load History error. Scroll below to try them out!
Solution 1: Click Retry
The first solution is to hit the retry button below the error message.
The Unable to Load History error mostly occurs due to a server failure or network issue. You can get rid of this error instantly by clicking the retry button.
Solution 2: Check if the site is under maintenance
Open AI regularly updates ChatGPT for users to access the site smoothly. You can get the Unable to Load History error when Open AI upgrades the website. So, go to Open AI’s website and check for messages regarding site maintenance.
If Open AI says their servers are under maintenance, wait a while and retry accessing the site.
Solution 3: Log out and Log in
One of the easiest ways to fix the Unable to Load History error is by logging out of your account. Then wait for a while and login back into your account. This method refreshes your connection. So, the history will appear when you log in to your account.
Solution 4: Fix network issues
ChatGPT will give up on your chat history if your internet connectivity is unstable. To fix this problem, check the internet speed.
Next, restart your router or modem and retry accessing chatGPT. It should load your chat history.
Solution 5: Clear the Cache data
Cache data can boost the loading speed of any site. At the same time, it can create issues while accessing any website. You can delete your cache data by visiting the settings page on your browser. Then go to ChatGPT and sign into your account. The website will work perfectly fine.
Solution 6: Contact customer care
The final solution to retrieve your history is to knock on the door of ChatGPT customer care! ChatGPT’s customer support team is available 24/7. You can connect with the team from your account by clicking the help icon at the bottom right. Explain your issue to them, and they’ll provide a relevant solution.
Fortunately, ChatGPT allows users to revisit and even save their history. You can go to ChatGPT’s website, ask it anything, and it will automatically save your chatgpt conversations. It also allows users to rename their conversations. Here is how to save your ChatGPT history:
Step 1: Visit Open AI chatGPT’s website and enter your account.
Step 2: Click the chat box and type anything to begin a conversation.
Step 3: A new tab will open on the left-hand sidebar. This tab stores your conversations automatically.
Step 4: To revisit a conversation, click on its name on the left-sidebar, and it will open on your screen.
Chatting with ChatGPT is fun. This bot can chat on various topics all day long. But what if you no longer want to store your conversations with ChatGPT?
Thankfully, ChatGPT allows users to delete their history. You can delete your ChatGPT history using the following steps:
Step 1: Sign in to your ChatGPT account using your account credentials.
Step 2: You will see a list of your previous chats on the left-hand sidebar.
Step 3: Select the conversation you want to delete.
Step 4: Hit the Trash (Bin) icon next to the conversation.
Voila! Your History is no longer available on ChatGPT.
You can also delete all previous conversations in a single click. Simply click the clear conversations icon on the left-hand sidebar. All your chat history will be deleted in a single shot!