Midjourney is currently one of the best Artificial intelligence art generators in the market to develop high-quality AI images.
To use Midjourney ai, users need to follow a variety of steps such as joining the Midjourney discord server, Subscribing to a Midjourney plan, connecting to the “newbies” channel, and finally entering a detailed art prompt for Midjourney to create an image.
Apart from this, certain prerequisites need to be followed by users to use Midjourney AI like registering an account on Discord server.
In this article, we will provide a detailed guide on how to use Midjourney to generate AI Art. In addition, we will also discuss how to customize AI-generated images by using the customization options in Midjourney.
How to Use Midjourney to Generate AI Art
Here are the steps on how to use Midjourney to generate AI Art:
Step 1: Join the Midjourney Discord Server
Anyone with a Discord Server account can utilize Midjourney. So, if you don’t have a Discord server, you need to visit Discord’s official website and register an account for yourself.
To register you need to provide your Email address, create a Username, Password and enter your Date of Birth, once you have entered all your details click on “Continue”.
After this, you need to complete a reCaptcha and verify your provided email address and you’re done. Now, it’s time to join Midjourney Discord Server.
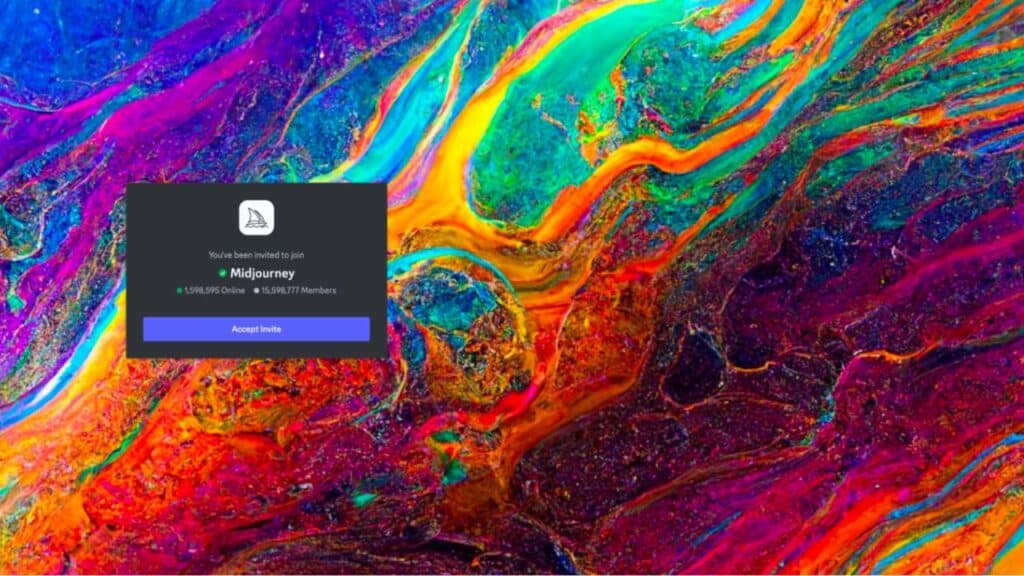
- Log in to your Discord account
- Navigate to Midjourney’s official site by using this link https://www.midjourney.com/home/ and click on “Join the beta”
- Tap on “Accept Invite”
- You need to complete the human verification process by clicking on the “I am human” box and solving the simple puzzle
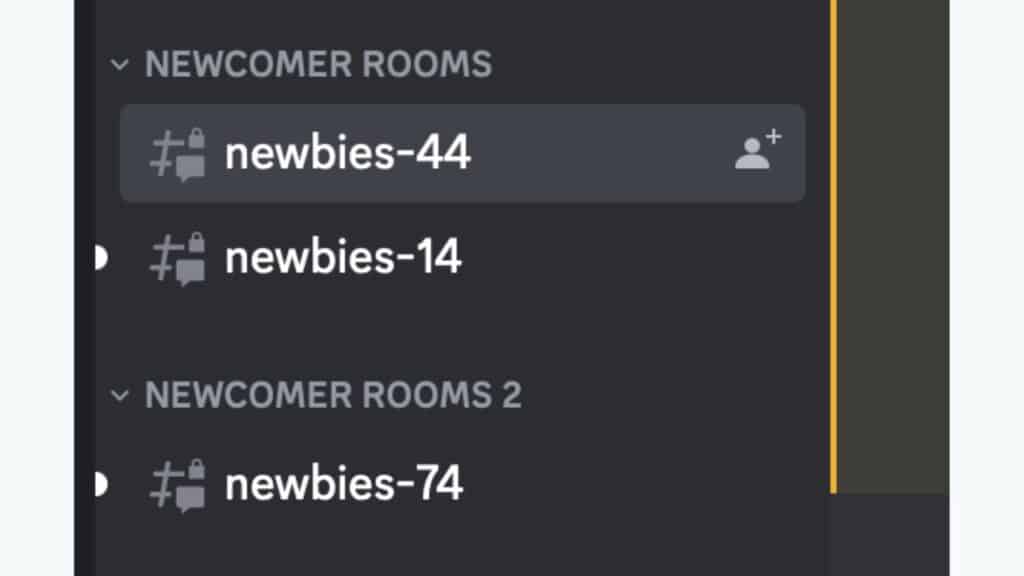
- Now you need to click on the “newbies” channel available on the left sidebar and enter a message. After this, you need to click on the “Accept ToS” button and you have joined the Midjourney discord server
Step 2: Buy a Midjourney Subscription
After this, you need to buy a Midjourney subscription for your account to generate AI art. Here’s how you can do it:
- Click on the “newbie” channel titled on the left sidebar
- Enter a “/subscribe” in the text to receive a personal subscription link
- Tap on the “Open subscription page”
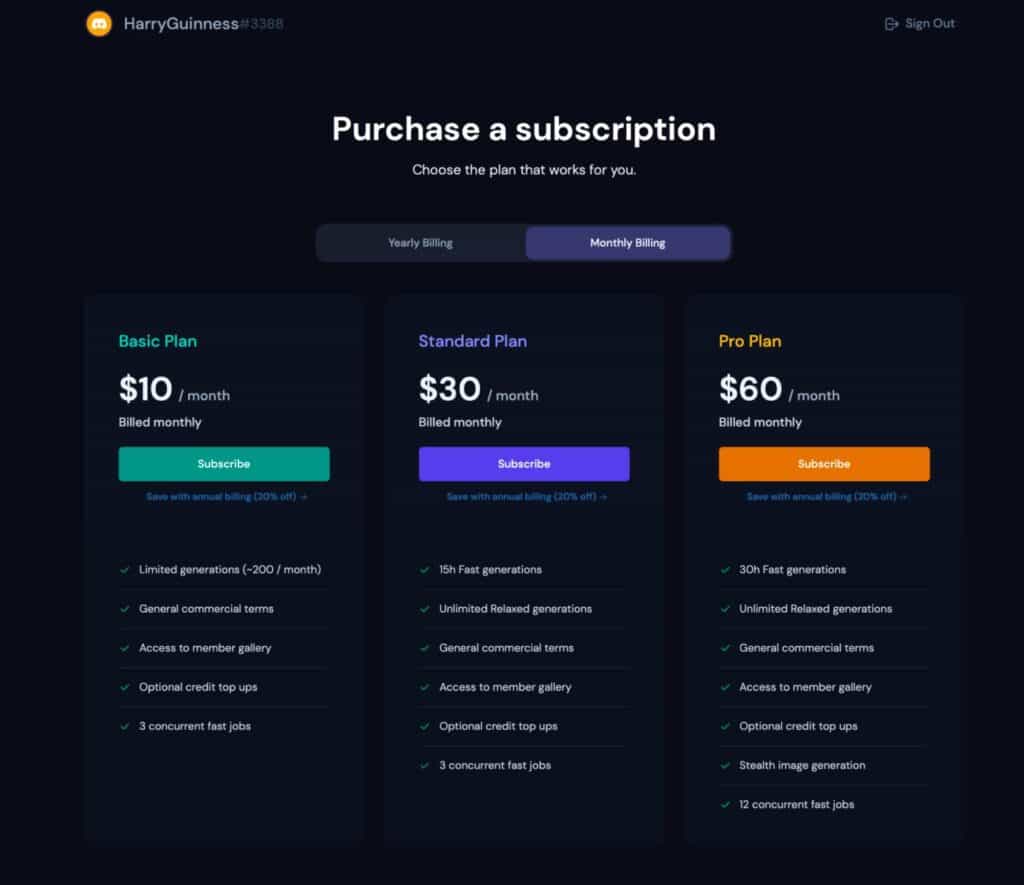
- A list of monthly and yearly payment plans will appear on your screen, choose any plan based on your preference and click on “Subscribe”
- After clicking on Subscribe you will be navigated to the payment page
- Enter your details: Email, Payment Method, Card Information, Name on card, Billing address
- Click on “Subscribe” to complete the payment
- Now, on Midjourney’s confirmation page wait until you witness check marks on options “Payment Successful” and “Subscription Activated”
- Click on the “Close” button and you have successfully subscribed to the Midjourney plan
Step 3: Join the Newbies Text Channel
After you have joined the Midjourney Discord server and subscribed to a plan, you are ready to create your first Artificial intelligence piece. For this, you need to find a “newbie” text channel and enter the “/imagine” command in the text box.
Step 4: Enter Your Midjourney Art Prompt
Once you have entered the command “/imagine” it’s time for you to add a short text description known as Prompt to describe the kind of image you want to create using Midjourney.
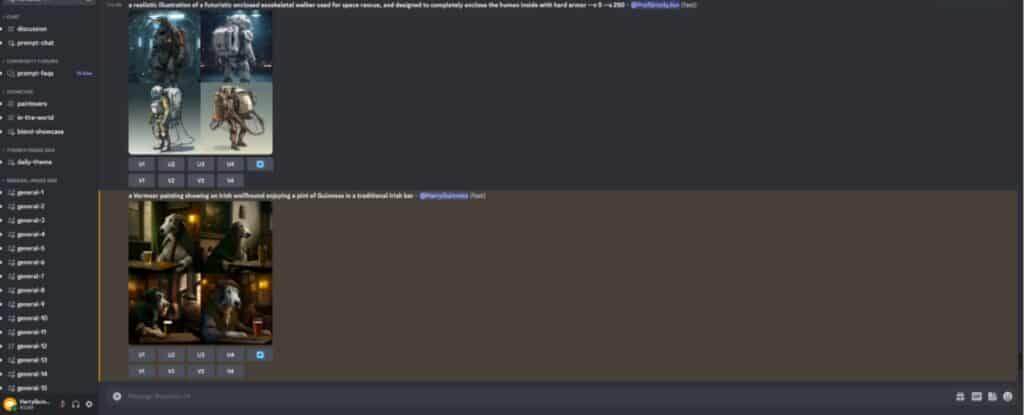
It’s important to write a clear prompt describing the kind of image you want the AI generator to create to get the best outputs. Once you have added your prompt in the text box click Enter.
Midjourney will instantly begin creating your AI image. Users can see the procedure as the image becomes clearer. Within a few minutes, Midjourney will be able to create your conveyed image.
It will provide four different variations of your requested image. You can further repeat these steps and create as many prompts as you like.
Step 5: Customize Your Midjourney AI Art
There are a few customization options available in Midjourney ai, through which users can customize images by making a few changes or simply playing around with the options to generate more suitable outputs for them. Here are some of the customization options available in Midjourney AI art:
1. Upscaling and Redo Options
Once you have created an image on Midjourney, you will witness four buttons below the image “U1, U2, U3 & U4”. These are upscaling options that are provided by Midjourney to allow users to enhance the resolution and quality of the generated image based on their preferences.
The numbers correspond to the images provided in the grid.
Once you have selected any mentioned option, Midjourney will automatically upscale the images and add more details to make the following image larger. There is even a “re-roll” button available besides the U4 option which runs an image creation to provide a new grid of images.
The default upscaling is used by Midjourney to improve the quality of the image and make it more detailed and generate a larger image. However, users can enable more options in Midjourney, once they upscale images. Here are some of the additional options which can be utilized by users:
- Variations: Users can make new variations of the upscaled image through a newly generated grid model.
- Remaster: This provides creative and test parameters which help in blending the composition of the image. Although you should note this option is only available for those who use the Beta upscale option.
- Beta Upscale Redo: Allow upscaling utilizing various upscaling models.
- Web: This allows users to open the AI-generated images in the Midjourney gallery.
- Favorite: Allow users to add their AI-generated images to a list of favorite images.
2. Aspect Ratio
The aspect ratio is basically the width-to-height ratio of an image which is expressed through the numbers. By default, the aspect ratio of the image generated by Midjourney is (1.1) which is the width and height of the image.
But, users can make changes in the aspect ratio of the image by simply adding a command in the prompt.
The aspect ratio differs depending on the Midjourney model used by the user. Midjourney V3 supports an aspect ratio of 5:2 to 2:5, while the V4 model of Midjourney contains an Aspect ratio option of 1:2 to 2:1.
But now users can change the aspect ratio of the image by adding the “-ar” parameter at the bottom of your text prompt.
Here are some of the most common aspect ratios in Midjourney:
- Default aspect ratio: –aspect 1:1
- Common frame & print ratio: –aspect 5:4
- Common in Print photography ratio: –aspect 3:2
3. Image Variations
Midjourney has provided variation options “V1, V2. V3 & V4” that can enable the creation of slight variations on the selected image. Midjourney contains the capability to create a completely new image grid similar to the selected image’s overall composition and style.
Users can choose to mix and match with several other images to find a perfect combination for themselves. This helps users create the perfect image for those users who aren’t satisfied with the default options.
4. Info Command
The info command shows Midjourney users their profile stats which include their subscription tier, remaining fast hours, visibility, lifetime usage, and more. It even contains a button through which users can navigate to the official Midjourney profile.
To enable the Info command users need to visit the newbie channel and enter the text “/info” in the text box and click on “Enter”. Users can then see the info command and monitor their subscription tier, usage, and more using this option.
5. Fast and Relaxed Mode
Midjourney utilizes GPU (Graphics Processing Units) to help fully process each text prompt of the user. When a user subscribes to a Midjourney plan they purchase time on these GPUs.
The Fast Mode helps users in generating images quickly but it comes with limited time. The limit is used every time you generate an image on the basic default plan.
Users can get unlimited image creation through Relaxed mode. However, the requests in relaxed mode are placed in a queue behind other users. In this case, the generation of your requested image depends on your position which might take some time.
The Relax mode is available for those users who have subscribed to Midjourney’s Standard and Pro plans. Users subscribed to basic plans cannot utilize this mode.
To switch between Fast and Relax modes, users need to type in the text box on the main server “/settings” and press enter. Midjourney will then enable various settings options, from which users need to click on “Fast or Relax mode”.
How to Add Midjourney to Your Own Discord Server
Users move to Midjourney Discord Server by default while generating AI images. But, if you want to add Midjourney to your own Discord Server then you need to follow these below-mentioned steps:
- First, Click on the “Show Member List” option on the top-right of Midjourney’s Discord Server
- This will showcase the list of members
- Click on “Midjourney Bot” and then click on “Add to Server”
- The Discord will now request you to select the server you want to add to Midjourney to
- Select your Server from the drop-down menu and tap on “Continue”
- Now, Click on “Authorize” to provide all the important permissions
You’re done. Midjourney is now added to your Discord Server and you can start creating art on your own server from now onwards. Simply type in “/imagine” and get started.
How to Get Midjourney to DM Generated Photos to You
Users can directly receive their AI-generated images through DMs and here’s how you can do it:
- For this, you need to first go to the Midjourney bot by clicking on “Show Member List” and selecting “Midjourney Bot” from the list of members
- Now, you need to click on the text field which is mentioned at the bottom to send a message to the Midjourney bot.
- You can simply type in “Hello” or anything and send a message
- This will open a chat with Midjourney. Now, you need to type “/imagine” and add a prompt to send the generated image across
- Now, Midjourney will immediately start generating the image based on your prompt and send the output on the DM itself along with upscaling and variations options through which you make any changes you want.
This is how you can ask Midjourney to directly send you generated images in your DMs to make them easily accessible for you.
