ChatGPT, Open AI’s new chatbot, has been a popular AI tool since its release. However, the tool is not yet perfect. Developers are adding new features to improve it and also collecting user conversations to train ChatGPT.
ChatGPT records every interaction you have with it and uses this data to train and improve Open AI models. However, starting from April 2023, Open AI allows ChatGPT users to turn off chat history.
That means, it cannot read or access the user’s activities. This feature is accessible to Plus and non-Plus members. Read this guide to learn how to turn off chat history in ChatGPT.

How to Disable Chat History in ChatGPT
ChatGPT allows users to disable the chat history option by visiting the Settings page. After disabling this option, ChatGPT will store new conversations for up to 30 days, but it will only refer to them to monitor abuse or violence.
After 30 days, the conversations will be permanently deleted from ChatGPT’s database.
Below are the steps you need to follow to disable chat history in ChatGPT:
Step 1: Log into ChatGPT
First, visit the official ChatGPT website (https://chat.openai.com/) and click the Log in button. Enter your account credentials to sign into your account.
Step 2: Access Account Settings
Next, you need to navigate to the settings page on your account. Click the profile icon at the bottom of the menu. Select the Settings option from the popup menu.
Step 3: Show Data Controls
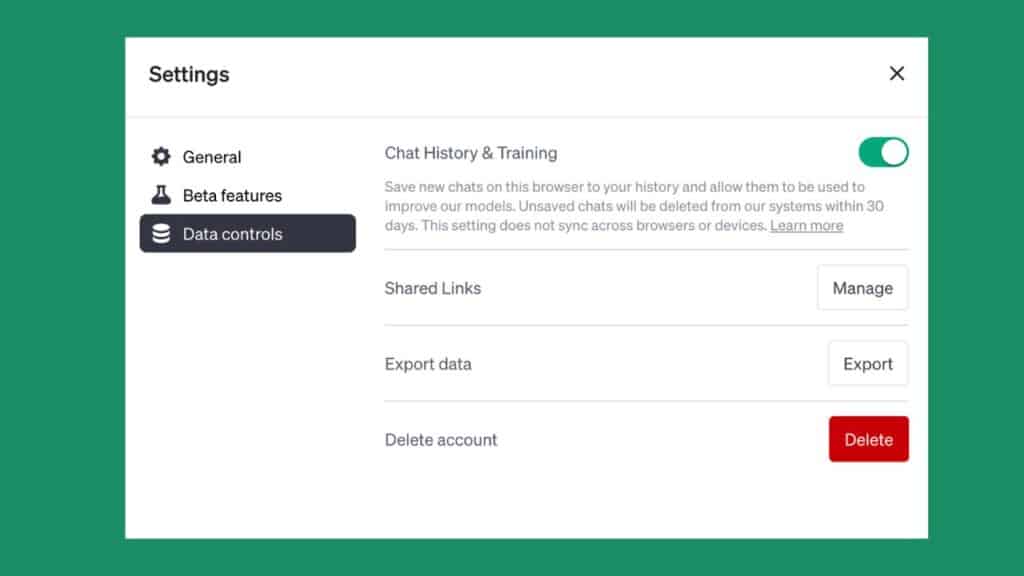
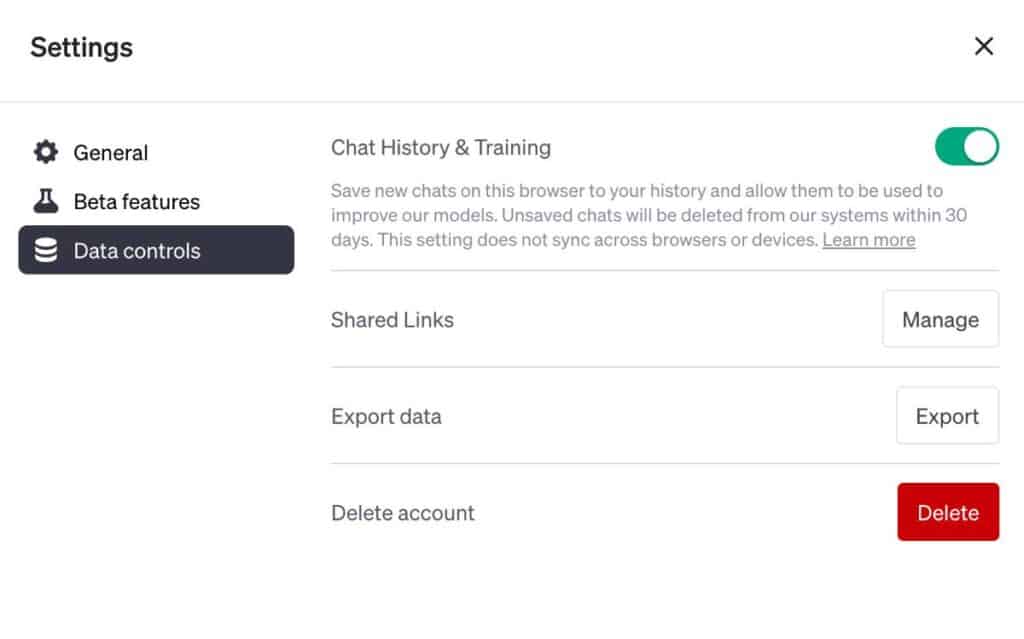
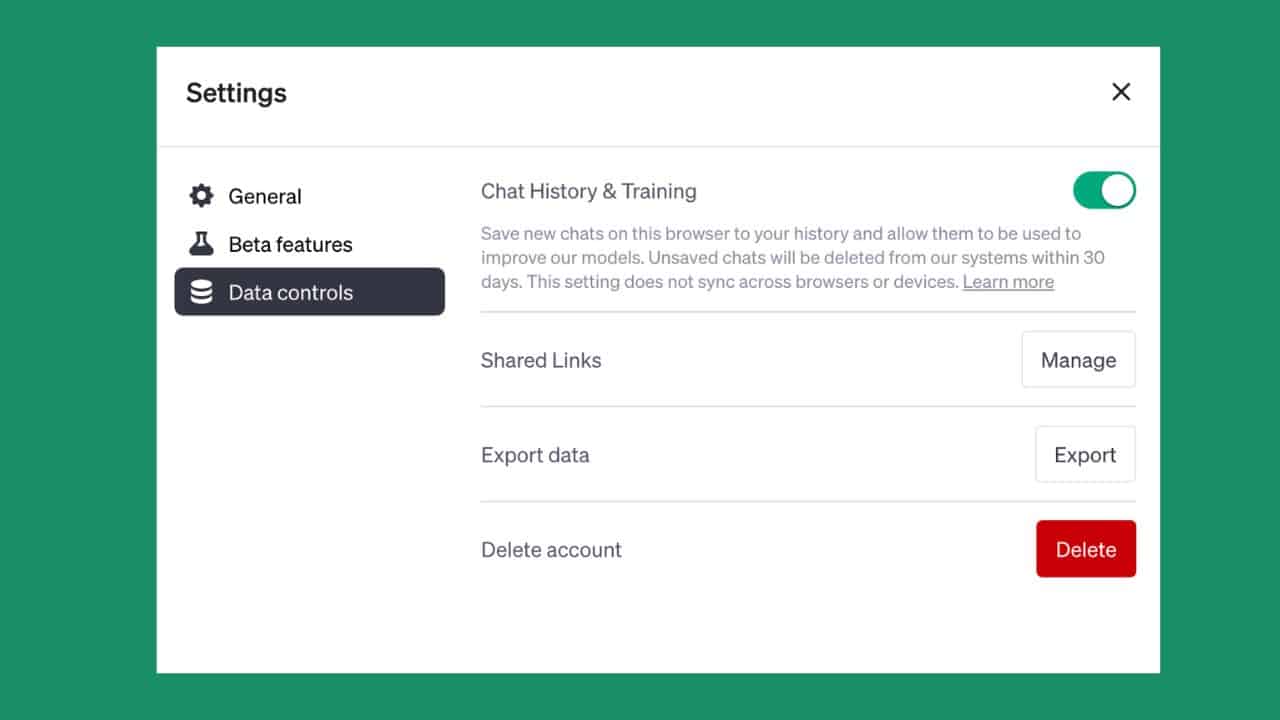
You will see the Data Controls option on the Settings popup menu. Click the Show button to access the history option.

Step 4: Turn off ChatGPT History
Toggle the button next to the ChatGPT History and Training option. That’s it! You have successfully disabled the ChatGPT History option.
How to Clear Old ChatGPT Conversations
If you don’t want your old ChatGPT conversations to appear in ChatGPT, you can clear them from your account. This option will erase your previous conversations from your account. Follow the steps below to clear your old ChatGPT conversations:
Step 1: Sign into your ChatGPT account using your login credentials.
Step 2: Click on your profile name at the bottom of the left-side menu.
Step 3: Select the Clear Conversations option from the popup menu.
Step 4: Click on Confirm Clear Conversations to finally delete your conversations.
Your old chats will no longer appear within ChatGPT. You can start a new conversation by hitting the New Chat option.
How to Export Your ChatGPT Data
If you want to keep a record of the conversations you had with ChatGPT, you can export them before deleting them. This option downloads your chat history. You can then access and share it at any time. Below are the steps to export your ChatGPT data:
Step 1: Visit the official ChatGPT website and log into your account.
Step 2: Click your profile name on the left-side menu.
Step 3: Select the Settings option from the popup menu.
Step 4: Click the Show button next to the Data Controls option.
Step 5: Select the Export Data option.
Step 6: Read the information mentioned on your screen and click on “Confirm Export”.
Now wait until ChatGPT sends an email containing your ChatGPT data to the registered email address.
